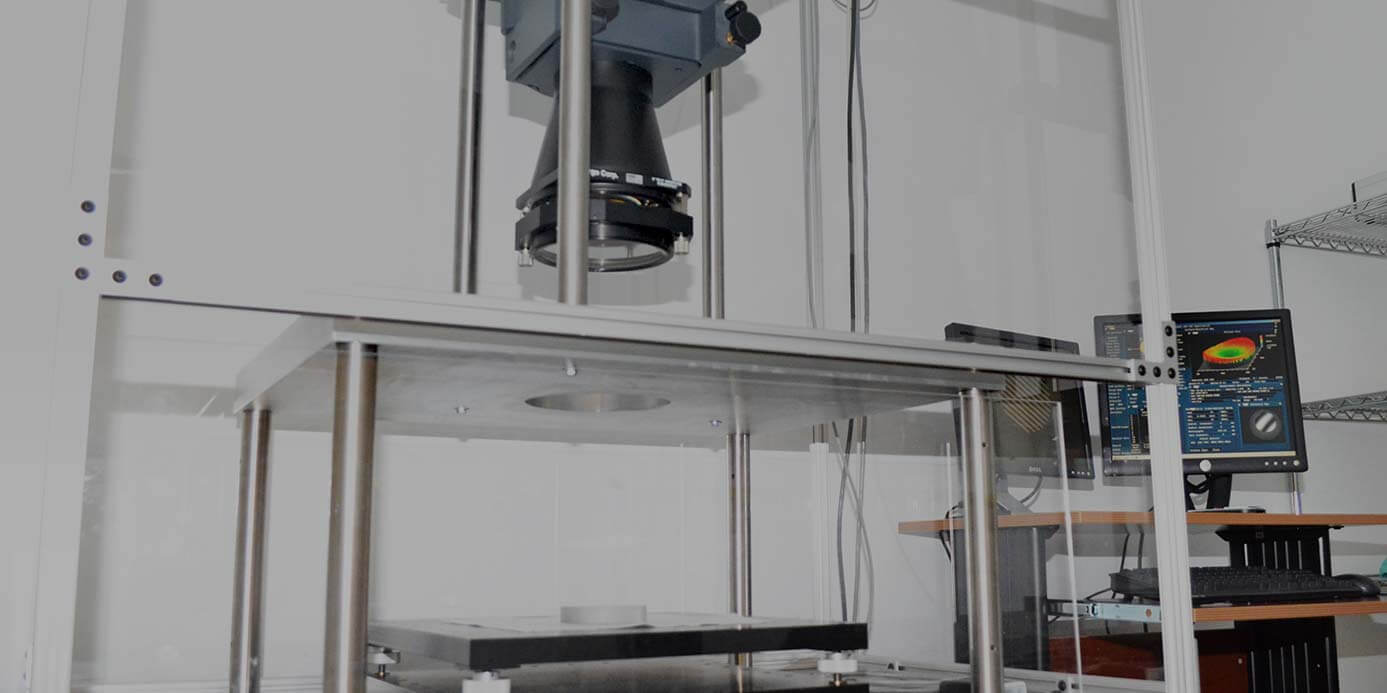
Optical Metrology EquipmentOptical metrology equipment is critical because it validates the finished specifications and aids in the fabrication and coating process. Metrology equipment used to verify flatness includes several Zygo interferometers. Our vertical and horizontally mounted interferometers are equipped with a 4 to 6 inch adapter, so we can measure larger parts. For surface measurements, we have an extensive inventory of reference radius and flat test plates. Surface roughness can be measured with our Zygo Newview 7300. | |||
Advanced Surface Flatness Measurements
ARO purchased a custom, 1/140lamda, 6 inch diameter reference flat to accurately measure all flatness parameters. In addition, ARO has a horizontal zygo with a radius slide. It is equipped with an assortment of converging and diverging lenses to cover a wide range of radii. This technology allows ARO to verify flatter surfaces across larger parts than leading competitors.
Quality AssuranceFor verification of spectral specifications, we use lamda 1050 and lamda 900 Perkin Elmer spectrophotometers. We are able to measure from 188nm to 3 microns. ARO provides copies of spectral scans for each coating run, so customers can be certain their parts meet the specifications requested. ARO can test for a variety of environmental conditions per Mil Spec requirements. We have in-house capabilities to test for specified environmental requirements including abrasion, adhesion, humidity, temperature, and temperature influence. | |||
Equipment List:
- Horizontal and Vertically Mounted Zygo Interferometers
- Lamda 1050 Perkin Elmer Spectrophotometer
- Lamda 900 Perkin Elmer Spectrophotometer
- Zygo NewView 7300
- Perfect Wave Reference Flat
- MicroVu Spectra Comparator
- Nomarski Microscopes
- Associated Environmental Chamber BHD-203
- Coordinate Measurement System
